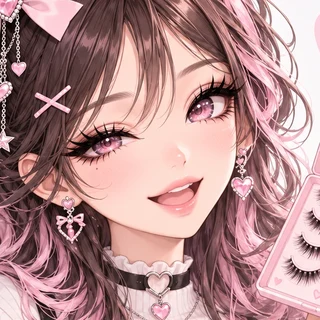
Anime lashes can look intimidating in the box, especially when they're longer or spikier than the lashes you normally wear.
The actual application process isn't much different from applying regular strip lashes.
The difference is that placement matters more.
If a manga lash moves a few millimeters, the whole eye shape can change.
Step 1: Finish most of your eye makeup
Apply your eyeshadow and basic eyeliner first.
You can make small eyeliner corrections after the lash is on, but doing the main shape beforehand is easier.
Curl your natural lashes too.
This helps them sit underneath the false lash instead of pointing downward.
Step 2: Measure the lash
Never assume a strip will fit straight from the box.
Place it along your eyelid without glue.
The inner edge should not sit deep in the inner corner. That usually causes poking and watering.
If the lash extends too far outward, trim it.
Step 3: Trim carefully
Take the lash off your eye before cutting.
Trim tiny sections at a time, normally from the outer edge.
With anime lashes, check the spike pattern before cutting. You don't want to accidentally remove the section that gives the lash its shape.
A lighter pair of anime false lashes for beginners is generally more forgiving while you're learning.
Step 4: Apply a thin layer of glue
More glue doesn't mean better hold.
It usually means more mess.
Apply a thin, even layer across the band with a little extra at both ends.
The inner and outer corners are the first places lashes tend to lift.
Step 5: Wait
This is the step beginners rush.
Fresh lash glue is slippery.
Give it a short time to become tacky before putting the lash on.
The exact waiting time depends on the adhesive you're using, but the band should no longer slide around instantly when touched.
Step 6: Place the center first
Look slightly downward into a mirror.
Position the middle of the false lash close to your natural lash line.
Once the center is stable, press down the outer section and then the inner section.
This gives you much more control than trying to attach the entire band at once.
Step 7: Check the angle
Before the adhesive fully sets, look straight ahead.
Does the lash point in the direction you want?
Anime lashes can change expression depending on their angle.
A lifted outer edge makes the eye sharper. A lower outer angle can create a softer or more droopy look.
Adjust while you still can.
Step 8: Press the lashes together
Once everything is secure, gently press the false lashes and natural lashes closer together.
You can use clean fingers or a lash applicator.
Don't squeeze aggressively.
The goal is simply to remove the visible gap between the two layers.
Step 9: Hide the band
If necessary, add a small amount of eyeliner over visible sections of the band.
Don't automatically cover the entire lash line with thick liner.
That can hide the separated spikes that make anime lashes distinctive.
What if the corner keeps lifting?
Usually one of three things is happening:
- The strip is too long.
- There isn't enough adhesive at the end.
- The lash was applied before the glue became tacky.
Remove it and fix the problem rather than repeatedly pushing the corner down.
If you're wearing lashes for a convention, a comfortable pair of flexible-band cosplay lashes is worth prioritizing over an extremely stiff dramatic pair.
Practice before the event
Don't make convention morning your first attempt.
Anime lashes become much easier after you've applied the same pair once or twice.
You'll learn exactly where the band needs to sit and how much trimming your eye needs.
Ten minutes of practice beforehand can save a frustrating half hour when you're already wearing a wig and trying to get out the door.