
You don't need tweezers to apply false lashes.
Plenty of people find their fingers easier.
You get more control over pressure, there's less chance of accidentally pinching your eyelid, and you don't need to dig through your makeup bag looking for a tool that has somehow disappeared again.
The trick is using the right order.
Start with clean hands
You're going to be touching the lash band close to your eye, so wash and dry your hands first.
Avoid putting hand cream on immediately beforehand.
Slippery fingertips make the lash harder to control.
Measure and trim first
Before applying glue, place the strip along your eyelid.
Check the inner and outer edges.
Trim the lash if necessary, following how to trim false lashes.
This step matters even more when you're applying with your fingers because an oversized strip is harder to position accurately.
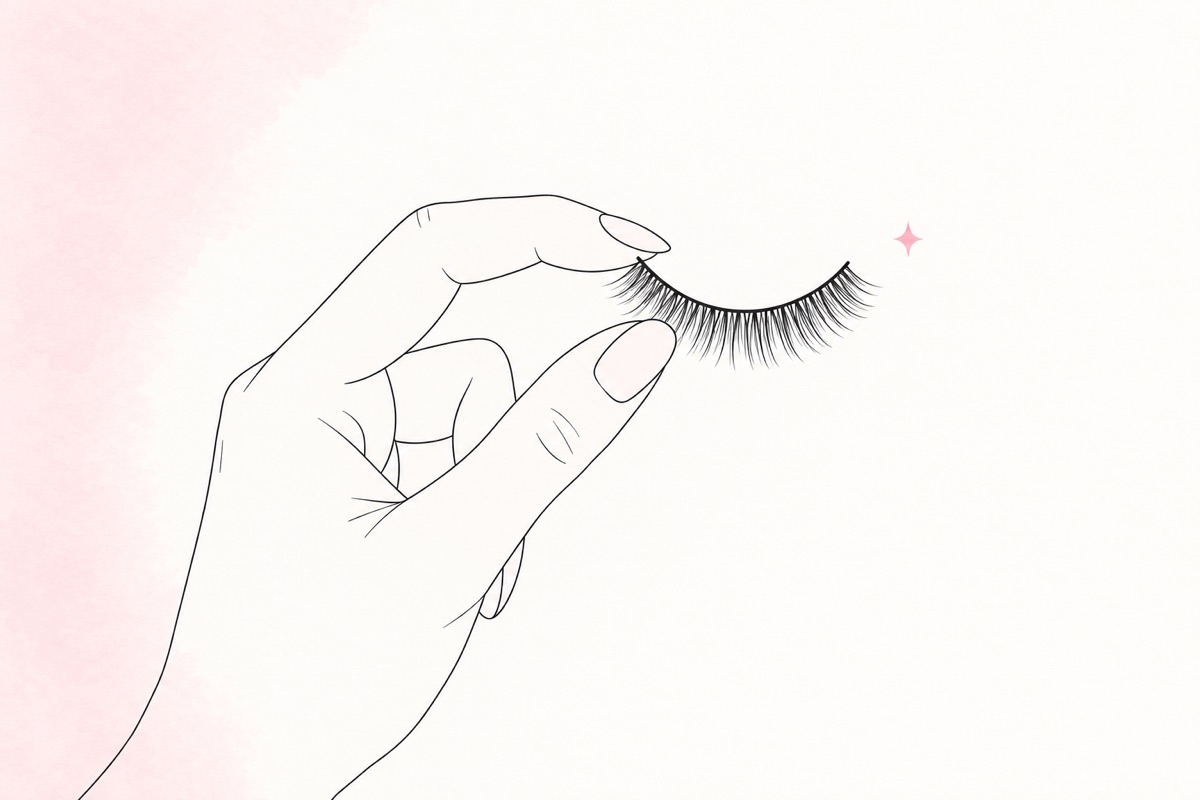
Hold the lash by the middle
Pick up the lash gently using your thumb and index finger.
Try to hold the band rather than squeezing the hairs.
Keep the lash curved in roughly the same shape as your eyelid.
A pair of flexible false lashes is particularly easy to apply this way because the band doesn't fight against the curve of the eye.
Apply the glue
Use a thin, even layer.
Add a touch more at the two ends.
Then wait until the adhesive becomes tacky.
If the glue is still very wet, the strip will slide around as soon as your fingers let go.
Place the center first
This is the easiest finger method.
Look slightly downward into a mirror.
Place the middle of the strip close to your natural lash line.
Don't worry about the corners yet.
Once the middle is sitting where you want it, release gently.
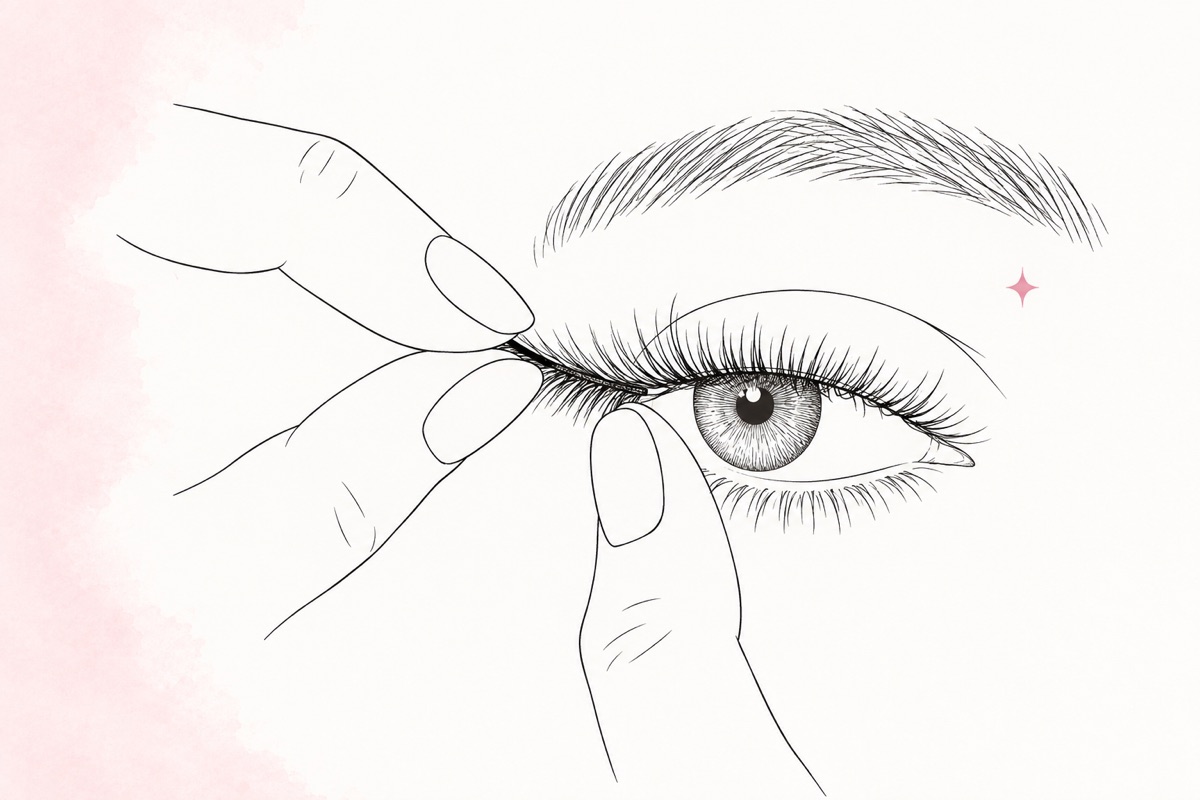
Attach the outer corner
Use one fingertip to press the outer edge into position.
Try not to touch the eyelid with a glue-covered finger.
If the lash feels too long or won't follow the curve, stop and remeasure it rather than forcing it into place.
Attach the inner corner
Press the inner edge down last.
Keep it away from the tear duct.
The inner section usually needs the least amount of lash band on the eye. If it still digs in, see fixing a poking inner corner.
If it feels uncomfortable, move it slightly outward.
Press along the band
Once both corners are in place, gently tap along the lash band with a fingertip.
You're not pushing hard.
You're just making sure the entire strip is making contact with the skin.
Pinch the lashes together
After the adhesive has had a moment to set, gently press your natural lashes and false lashes together.
You can do this between two clean fingertips.
This removes some of the visible separation between the two layers, which is one of the main things that makes false lashes look natural.
For small clusters
Fingers can also work for clusters, although they're a little trickier because the pieces are smaller.
Hold the cluster by its base and place it carefully.
If you plan to use lots of individual pieces, a lash applicator may eventually be easier, but it's definitely not required.
A pack of anime lash clusters can still be applied by hand once you get used to handling the smaller sections. There is more on placement in anime lower lashes.
What if you keep getting glue on your fingers?
You're probably holding too close to the band.
Grip the lash hairs very lightly slightly above the base.
Another option is to place the lash on the eye using your fingers, release it, and then reposition the corners with the clean side of a fingernail.
Is using your fingers worse than tweezers?
No.
It's just a different technique.
Tweezers and lash applicators can help with precision.
Fingers often give you better feel and control.
Use whichever method gets the lash close to your natural lash line without making the process unnecessarily complicated.